
Breathing New Life Into Rusty Vintage Headlights
- Ryan Brown

- Jan 18, 2025
- 7 min read
Updated: Feb 15, 2025
This week at Rewired, we try our hand at sand blasting to restore some old, tired, rusty headlight holders on a custom Ford truck.

Introduction
Whilst doing some electrical work on a classic truck, we were asked to source some headlight holders, as the old ones were missing. Unfortunately, after a long stretch of searching online and contacting various vintage Ford specialists, the only ones we could find available were these rusty examples in need of restoration. With only a partial holder supplied with the car, we were at least able to verify they had the correct profile before we purchased them.

Without the ability to purchase new (or even cleaner) replacements, we had to make do with what we had on offer. Fortunately, though some pitting was visible, most of the damage seemed to be at the surface level and could be cleaned up without risking the integrity of the unit.
The easy and dirty "fix" would be to apply some "Direct to Rust" spray paint. This could work, as the paint is designed for this scenario, but it would result in a poor-quality finish and risk the chance of corrosion spreading, bubbling, and flaking off the paint. Essentially, the effort would be worthless, the customer wouldn't like it, and the paint won't last.
At Rewired, we take pride in going the extra step to ensure we deliver the best work we can achieve. This made for the perfect excuse to try out our new (to us) sand blaster cabinet we were donated by an old friend. With this, we should get much closer to a new-like finish than we would using sand paper and an old wire brush.
Sand Blasting
Sand blasting is a big enough topic for another post in itself. In short, an air-tight cabinet fitted with sealed gloves is filled with a sand-like medium, expelled at pressure through a hardened nozzle powered by an airline.
Press the trigger, and air shoots the sand towards the target piece. The abrasive medium takes off a fine layer of material, exposing the cleaner layer underneath. The process is similar to using sandpaper but more powerful and much quicker.
The risk, of course, is that you have to use an appropriately sized grain of medium for the desired finish and a suitable air pressure; otherwise, you could cause damage from too much material being removed, weakening or making holes in the structure.
Setting Up
The cabinet itself is quite simple. We have a big red box with a thick plastic viewing screen. The screen has a tape-like film on the inside, preventing the window from getting scratched up. When the film gets too cloudy from abrasion to see through, you rip it off and stick a new one. The two arm holes lead to thick safety gloves, allowing us to perform the job inside without exposing our hands to the abrasive. The door on the side reveals the inside of the cabinet, allowing workpieces to be added or removed. This leads to a (mostly) air-tight workspace that keeps the sand and dust inside (we had a couple of leaks to fix).
The cabinet was placed in a mostly unused section of the workshop, which we don't usually have to walk through. We built a wooden frame that allows us to slide out the cabinet when we want to use it and retract it out of the way when we don't. In the future, we might add a couple of doors to keep it hidden and make the area look cleaner.

An airline pressure regulator with a built-in filter allows us to further control the air pressure subjected to the nozzle gun while keeping out water that would otherwise block up the system. Though not perfect, with the need for sandblasting being a rare occurrence here, we will look at a more permanent solution in the future.

Advertisements provided by Google AdSense
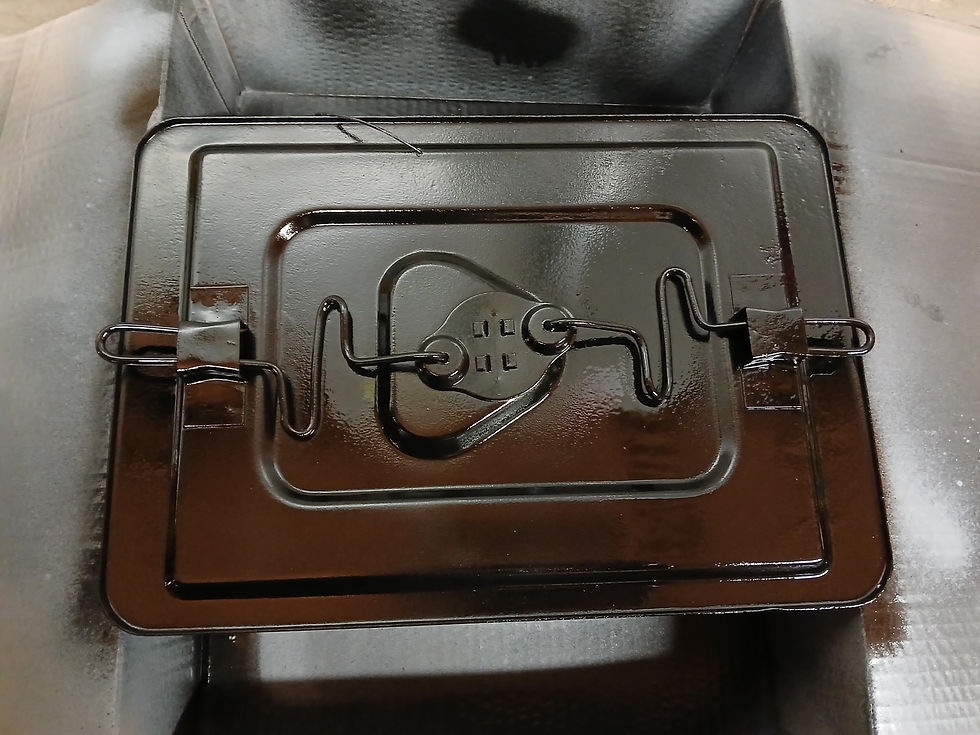
Test Blasting the Battery Tray
A test was done on the battery tray cover. This also had to be sourced and had a much easier profile to test with. The workpiece is supported on a metal grate, keeping the target in place and allowing the sand to fall through into the collection tub underneath. This tub stores the medium the air gun sucks up, leading to constant recycling of the blast.

A bottom corner was tested, where a fine layer of the rust was removed, revealing the shiny metal underneath. You can see some of the residual medium resting on top, away from where the air was blasting.

After a bit of time working on the piece, making sure not to keep an even spread and concentrate on any one area, the top surface was cleaned. Masking tape was placed on the handle to protect the rubber cover, and the mechanism had to be twisted to reach the area hidden beneath for each position.

The finish was quite even, leaving a clean surface free from rust, even in those tight areas that would be impossible to get by hand. However, some damage was revealed under the rust, where it was especially corroded under the bottom right corner, leading to extra care when blasted on the other side.
The underside came out even cleaner after a little practice, with the only troublesome bit being the mechanism itself, which didn't seem like it could be easily disassembled without potentially causing damage. This had to be repositioned a few times to get to all the hidden corroded surfaces.

With this piece finished, we could now continue with blasting the headlight holders and finishing with paint. After cleaning the pannel of any dust, a rust-inhibiting primer was sprayed to prevent future corrosion from reappearing and provide an even surface for the colour coat to stick to.
A metal suitable black spray paint was chosen, intended for rusted metals on cars and withstanding exposure to weather. After a few even coats, the lid was left overnight to cure before repeating the process on the other side. The primer is also designed to even rough surfaces, which helps hide some of the inevitable pitting caused by corrosion.

With just the masking tape to remove, the finished lid was test fitted to the truck, ensuring that no clearance issues were presented and that the mechanism moved and locked in out of place freely without restriction.
Considering that we are an auto-electrical specialist, the finish of the parts came out with an amazing contrast to what we had to work with before. If done by a professional paint sprayer, they would have the resources and justification of costs to apply filler and other products to further even out the surface, but this would put the job out of scope and the customer out of budget.
The Right Holder
The right-hand side holder and bezel displayed the least severe corrosion of the two. This had to be disassembled to its base components so they could be treated and painted individually.

The backing seemed reasonably clean from the inside, excluding the rim, with most of the rust and flaking paint on the outside surface.

After an hour of careful blasting, the metal was rust-free and ready for paint. The surface was wiped over and softly blasted with air to remove any dust that may have collected in pores.

A couple of thin dustings of the rust-inhibiting zink primer were sprayed on the surface to leave an even and protected layer for the top coat to stick to.

After painting, it was noticed that a metal tab was missing from the new backing. Fortunately, the old incomplete backing had this part, so it was removed, cleaned, painted and riveted onto the restored part.

Compared side to side, we can see how the sandblasting removed the roughness and flakiness caused by the corrosion, and with the primer, we have a much smoother, even finish than if we had gone with paint alone.

The inner bracket and outer rim were blasted next. The outer rim appeared to be chromed in the past, but it was that rust-covered it was impossible to tell until the blasting revealed the copper base layer unerneath. More notably, the surface rust was so vast it began eating away at some areas. This led to more significant pitting and a few holes, but overall, we found no damage too severe to find the part unusable, though ideally, it would be best if a replacement could be sourced in the future.

A zink-based galvanising paint, with similar advantages to the primer, was sprayed to give the piece a protective coating as well as to provide a shiny metal finish. The resulting texture looks more lunar than perfect, but it is a vast improvement from before. As a part that will be mostly hidden once the lamp and finishing chrome are installed, with no alternative yet available, it will prove a suitable fix until the customer may want to source a better part if they so wish at a later date.

With the screws, springs and other components cleaned up, it was now time to rebuild the headlight holder. Below is a side-by-side comparison of the finished product compared to the untreated setup.

With this side completed, it was test-fitted to the vehicle. New clips and screws were provided, and a good fit was found all around. With this side proving a worthwhile investment, we then worked on the other, providing the customer with two cleaned-up headlight holder mechanisms on a budget when no better or new condition parts could be sourced.
Viewer Feedback
Blogging is an exciting and new experience here at Rewired, so we want to ensure that our content resonates with our viewer's interests.
If you enjoyed this story and want to see more like it, you can provide your feedback by liking this post. This will highlight what content viewers enjoy most and what we should invest more time in blogging next. Alternatively, if you have any tips or other advice, feel free to message us on social media so we can take your knowledge into consideration.
Advertisements provided by Google AdSense


